Prerequisites
Before you begin, ensure you have:- Administrator access to your Okta tenant
- A Brellium admin account with permissions to authorize integrations
Supported features
The Brellium Okta integration supports the following features:- SP-initiated SSO — Users can sign in to Brellium from the Brellium sign-in page, which redirects to Okta for authentication.
- IdP-initiated SSO — Users can sign in to Brellium directly from the Okta dashboard by clicking the Brellium tile.
- Just-In-Time (JIT) provisioning — User accounts are automatically created in Brellium on first sign-in through Okta. The following attributes are provisioned:
- Email address
- Full name
- SP-initiated Single Logout (SLO) — Users who sign out from Brellium also have their Okta session terminated.
- Universal Logout — Okta administrators or the Okta system can terminate Brellium sessions. Universal Logout is triggered when:
- An administrator initiates a logout from the Okta Admin Console
- The Okta system detects a security risk and terminates sessions
To provision and deprovision users in Brellium using SCIM, see the SCIM Provisioning Configuration guide.
Express Configuration steps
Add the Brellium app in Okta
- Sign in to the Okta Admin Console.
- Go to Applications > Browse App Catalog.
- Search for Brellium.
- Click Add Integration.
- On the General Settings tab, configure the application label if needed, then click Done.
Configure SSO and Universal Logout with Express Configuration
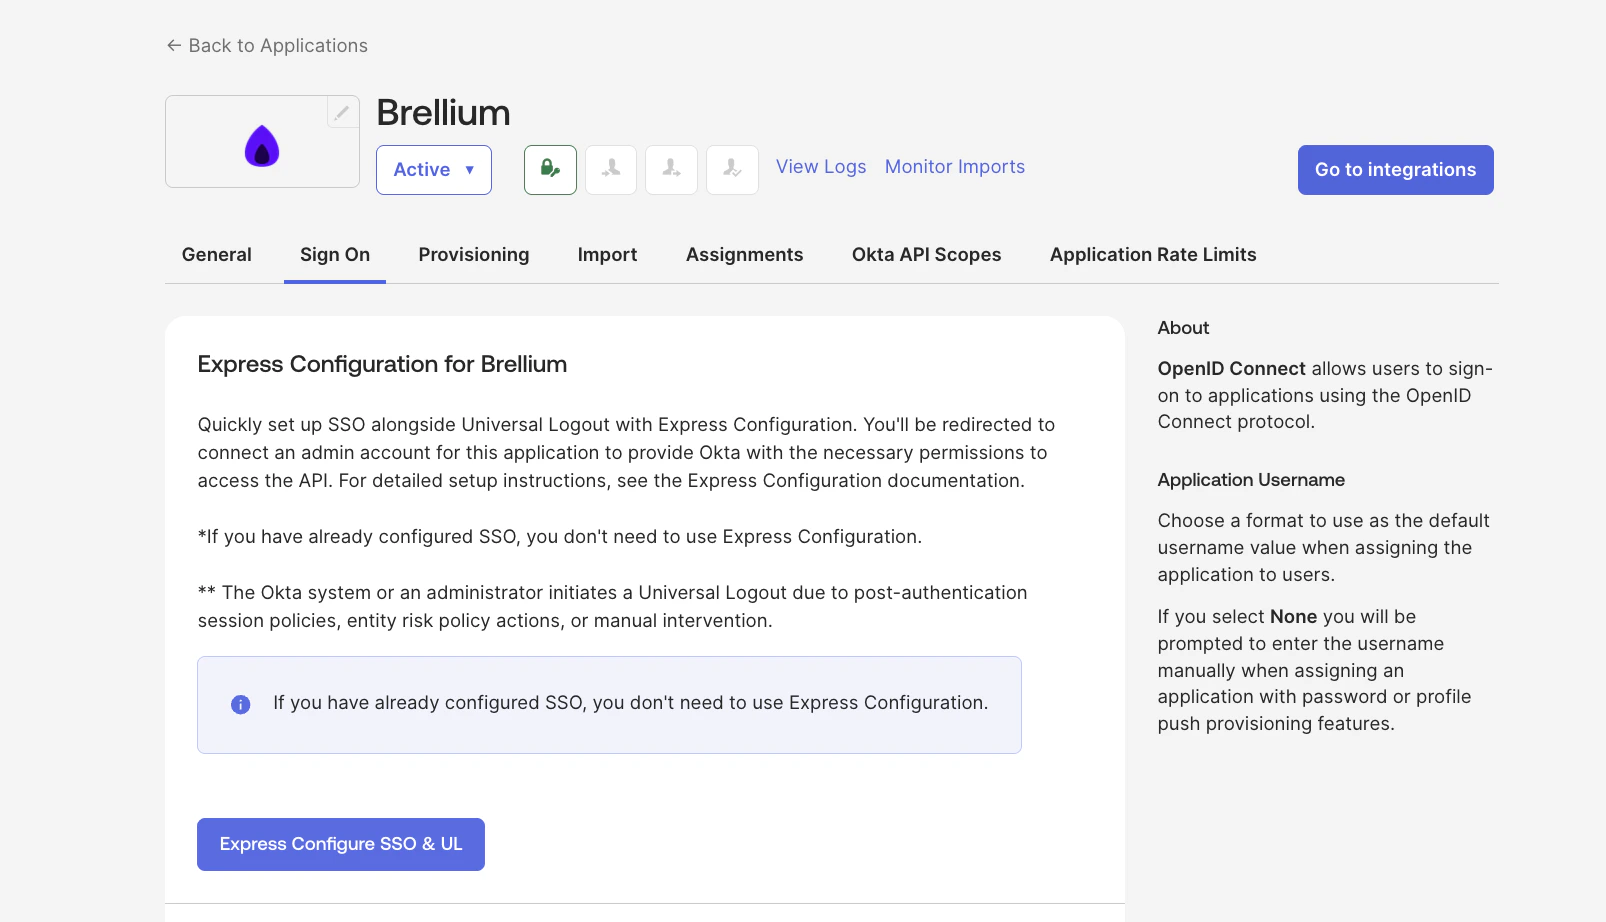
- In the Brellium app instance in your Okta org, click the Sign On tab.
- Click Express Configure SSO & UL in the Express Configuration for Brellium section. You are redirected to the Brellium sign-in page.
- Sign in to Brellium using your admin credentials.
- On the consent page, review the Authorize App details to grant Okta access to Brellium, then click Accept.
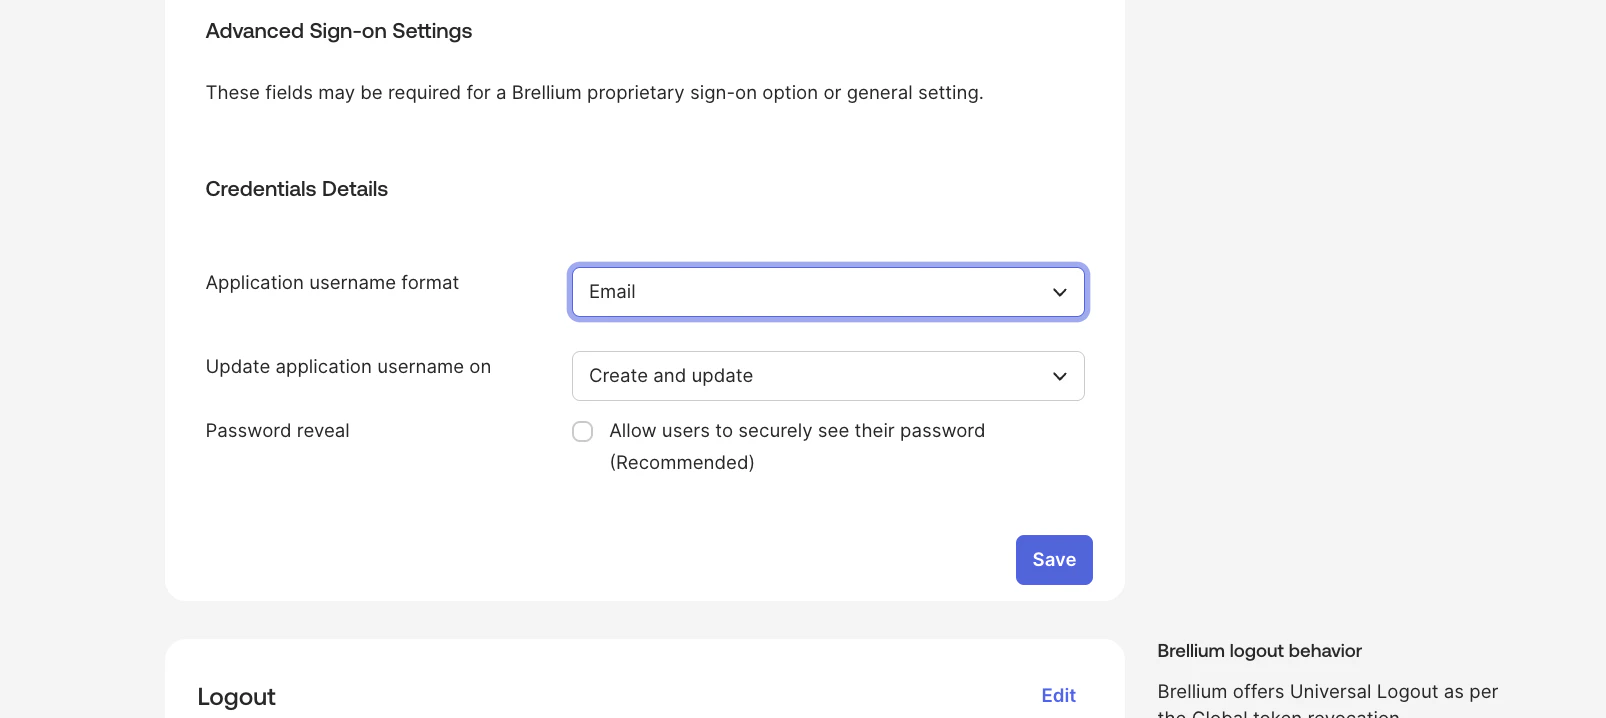
Set the Application username format
- In the Brellium app instance, click the Sign On tab.
- Under Credentials Details, change the Application username format from the default Okta Username to Email.
- Click Save.
Enable Universal Logout
- In the Brellium app instance, click the Sign On tab.
- In the Universal Logout section, verify that the Okta system or admin initiates logout option is enabled.
Assign users
- In the Brellium app instance, click the Assignments tab.
- Click Assign > Assign to People (or Assign to Groups).
- Select the users or groups to assign and click Assign.
- Click Save and Go Back, then click Done.
Verify the configuration
Verify that SSO and Universal Logout are working correctly.Verify IdP-initiated SSO:
- Sign in to the Okta dashboard as an assigned test user.
- Click the Brellium tile.
- Confirm that you are signed in to Brellium without being prompted for additional credentials.
- Open a new browser window and go to the Brellium sign-in page.
- Click Sign in with Okta.
- Enter your Okta credentials.
- Confirm that you are signed in to Brellium.
- Sign in to Brellium via Okta as a test user.
- From the Okta Admin Console, terminate the user’s session.
- Confirm that the user’s Brellium session is also terminated.
SP-initiated SSO
After the integration is configured, users can sign in to Brellium using one of the following methods:For SP-initiated SSO, users must access Brellium through one of the options below. Direct sign-in at
app.brellium.com without a verified domain will not automatically redirect to Okta.https://myorganization.brellium.app). You are automatically redirected to Okta for authentication.
Option 2: Sign in with a verified domain
If your organization has configured verified domains:
- Go to https://app.brellium.com.
- Enter your email address.
- You are automatically redirected to Okta for authentication based on your email domain.
Troubleshoot
| Issue | Cause | Solution |
|---|---|---|
| ”Invalid client” error | OIDC client credentials are incorrect | Re-run Express Configuration by clicking Express Configure SSO & UL on the Sign On tab |
| ”Redirect URI mismatch” error | The redirect URI in Okta doesn’t match Brellium’s callback URL | Re-run Express Configuration to automatically set the correct redirect URIs |
| Users aren’t created on first sign-in | Just-In-Time provisioning isn’t enabled | Contact Brellium support to enable JIT provisioning for your organization |
| Universal Logout isn’t working | Universal Logout was not enabled after Express Configuration | Verify that the Okta system or admin initiates logout option is enabled on the Sign On tab |
Support
If you have questions or encounter issues not covered in this guide, contact the Brellium support team:- Email: sso.support@brellium.com